2–6 tablespoons Korean-style red pepper flakes (gochugaru) See notes!
2 tablespoons fish sauce ( or use vegan fish sauce, miso paste, or soy sauce), more to taste
2 teaspoons sugar ( or an alternative like honey, brown rice syrup)
1 tablespoon glutenous rice powder (optional) (see notes)
Instructions
Reserve 1-2 outer leaves of the napa cabbage and refrigerate for later use (wrap in plastic). Cut remaining cabbage and place it in a bowl with the salt and toss. Add enough cool water to cover the cabbage and stir until salt is dissolved. Keep the cabbage submerged with a plate over the bowl and let stand at room temperature 6-8 hours (giving a stir midway through if possible) or overnight.
Drain the cabbage, saving the brine. Rinse cabbage, drain, squeeze out any excess water and place it back in the bowl, adding the daikon radish and scallions.
Place the ginger, garlic, shallot, red pepper flakes, fish sauce ( or alternatives) and sugar in your food processor. Add optional rice powder ( see notes!) Process until well combined, pulsing, until it becomes a paste.
Scoop the paste over the cabbage and using tongs or gloves, mix and massage the vegetables and the red pepper mixture together really well, until well coated.
Pack the cabbage into a large, two-quart jar (or two, quart jars) or a crock, leaving 1-2 inches room at the top for juices to release. Add a little of the reserved brine to just cover the vegetables, pressing them down a bit. Place the whole cabbage leaf over top, pressing down- this should help keep the kimchi submerged under the brine. You can also use a fermentation weight placed overtop the whole leaf to keep it submerged.
Cover loosely with a lid ( allowing air to escape) and place the jar in a baking dish ( or big bowl) to collect any juices that may escape. (The idea though, is to keep as much of the flavorful juice in the jar, so don’t overfill.)
Leave this on the counter for 3 days, then store in a sealed jar in the refrigerator where it will continue to ferment and develop more flavour slowly. While on the counter, you can press down on the kimchi daily with the back of a wooden spoon to keep it submerged.
After 3 days, the kimchi is ready, but won’t achieve its full flavour and complexity, until about 2 weeks ( in the fridge) slowly fermenting. The longer you ferment, the more complex and sour the taste.
This will keep for months on end in the fridge ( as long as it is submerged in the brine) and will continue to ferment very slowly, getting more and more flavorful.
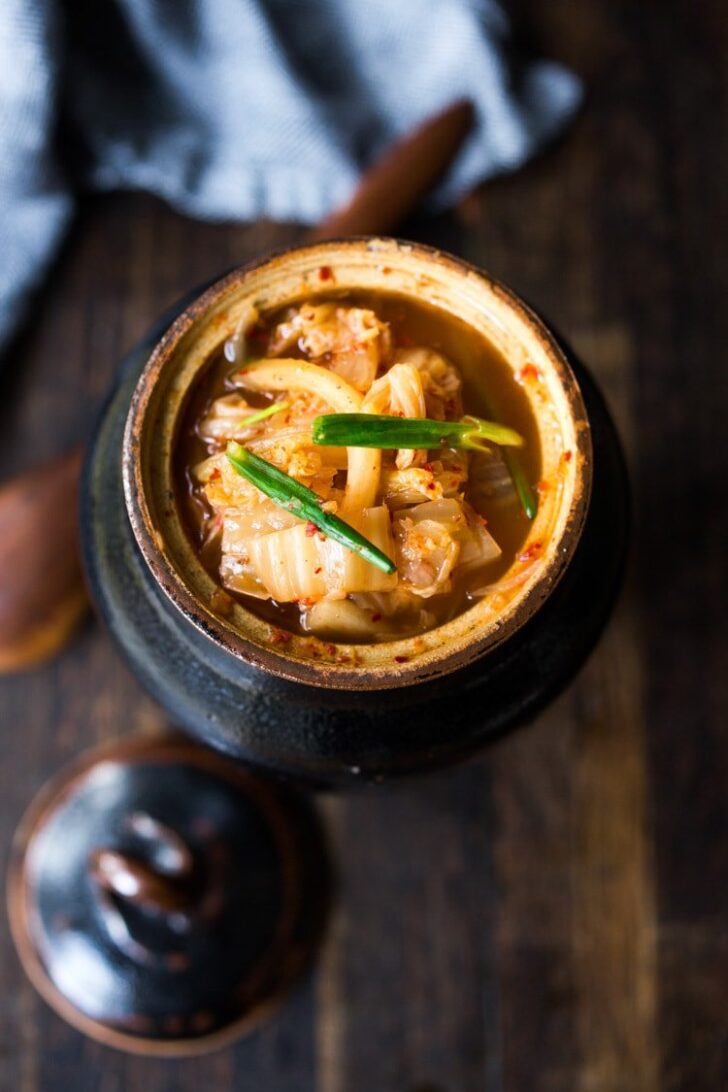
To serve it in a bowl as a side dish, scoop out using a slotted spoon, drizzle with sesame oil and toasted sesame seeds, fresh scallions.
Notes
For milder kimchi, start with 2 tablespoons Korean chilli flakes ( you can always stir in more). I like a spicy version with 6 tablespoons. 4 tablespoons is medium spicy.
If you like your kimchi, thick, and less watery, you can use sweet rice powder (also called glutinous rice powder ) to thicken. This is not the same as rice flour! Cook 1 tablespoon glutenous rice powder with ½ cup water, in a small pot over medium heat, stirring constantly until it boils. Let cool, still whisking occasionally. Add to the chilli paste in the food processor.