Easy Dessert Recipes – Soft Ginger Candy Chew

Ingredients

  • 180 grams of ginger
  • 150 grams of glutinous rice flour
  • 150 grams of brown sugar
  • 30 grams of water
  • shredded coconut or sugar powder

Instruction

  1. First, let’s deal with the ginger. Rinse it under running water. Make sure you wash off the mud. You don’t need to peel the skin because it doesn’t matter if the skin on or not. You can peel it if you want but its just more work to me.
  2. Roughly cut it into slices. Put it in a cup. I didn’t add any water to it so it will be a bit difficult to use a blender. That is why I am going to use a hand blender. You can also use a food processor to blend it.
  3. Use a sieve and put a cheesecloth to cover it. Squeeze the juice out of the ginger. Make sure you get the last drip. For 180 grams of ginger, we get about a little bit more than a 1/2 cup of 100% pure ginger juice.
  4. Pour the ginger juice into the glutinous rice flour. Use a fork to cooperate with it. It will look a bit messy in the beginning. But soon you should be able to make it into a dough. Cover it and let it sit for 15 minutes.
  5. While waiting, we can move on to next step. In a sauce pot, add 150 grams of brown sugar and 30 grams of water. Stir this on low heat. Adding water will thin the sugar a little bit and lower the chance of burning. You just keep stirring it so it doesn’t stick to the bottom. Once you see it start bubbling a lot. Let it cook for another 40 seconds and then turn off the heat. Let it cool down for just 5 minutes. You don’t want it to be completely cold or else the sugar will start setting.
  6. Pour the melted brown sugar into the glutinous rice dough. It might look like it is impossible to mix it well. Don’t worry. You just use a fork to break the dough into smaller pieces. Then use a whisk to stir it. Within 2 or 3 minutes, it will be completely well combined.
  7. Next, get a flat pan. I use an 8 inches non-stick cake pan. If your pan is not non-stick, make sure to apply some oil or put a parchment paper on the bottom so it will be easier to take out later. For better texture, I will let it go through a sieve. Just pour that in. a very important note here. Make sure your pan is flat and the batter is about 1/3 inch thick. If it is too thick or the batter is no evenly flat, it won’t be cooked completely.
  8. Put this in a steamer. Steam it for 40 minutes.
  9. This is how I check if it is completely cooked. Put a stick into a check the consistency. If you see the batter that attached to the stick is a little bit transparent, that means you are good to go.
  10. Take it out. Cover it and set it in the fridge overnight.
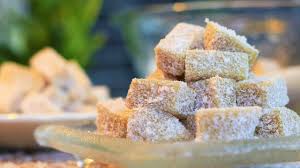
  11. This is the next day. Because it is a non-stick pan so it should be easy to take it out. Then cut it into long strips. You can wet the knife with cold water so it doesn’t stick to the knife. Sprinkle some shredded coconut so it won’t be too sticky. Then coat it with the coconut completely. You can also use sugar powder if you have it. Once all the sugar strips are coated well, pile them up and cut it into short pieces. Put this into the shredded coconut. If you see 2 pieces sticking together, just break that apart. Toss everything until they are coated well and you are done.

 

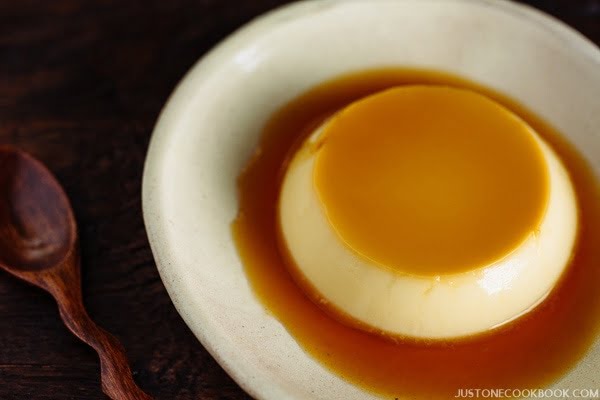
Japanese Pudding ”Purin” Recipe

Ingredients:

Caramel Sauce

  • ⅔ cup (140 g) granulated sugar
  • 2 Tbsp. (30 ml) water
  • 2 Tbsp. (30 ml) boiling water

Custard

  • 10 g (.35 oz) gelatin powder* or gelatin sheet (= 1 Tbsp. gelatin powder or 4 gelatin sheets)
  • ¼ cup (60 ml) water
  • 4 large egg yolks (Here are some egg white recipes)
  • ⅓ cup + 1 Tbsp. (80 g) granulated sugar
  • 1 ¾ cups (400 ml) milk
  • ½ cup (120 ml) heavy whipping cream
  • 2 tsp. vanilla

Instructions

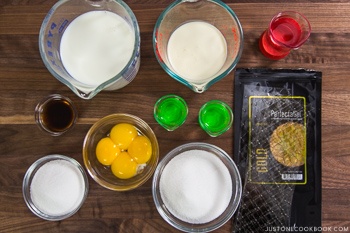
  1. Gather all the ingredients. You will also need 8 4-oz ramekins (4 oz = 1/2 cup = 120 ml).

    Japanese Pudding Ingredients

Caramel Sauce

  1. Prepare boiling water (you will only need 2 Tbsp) and a cold damp towel (for Step 4).

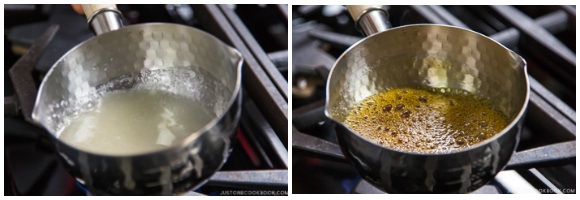
  2. Combine sugar and water in a saucepan over medium heat. Gently shake the saucepan to evenly distribute sugar and do not touch until the mixture starts to turn golden brown. Gently swirl and tilt the pan again to distribute the mixture to have even color until it becomes amber color (like darker honey color), about 6 minutes.
    japanese-pudding-1
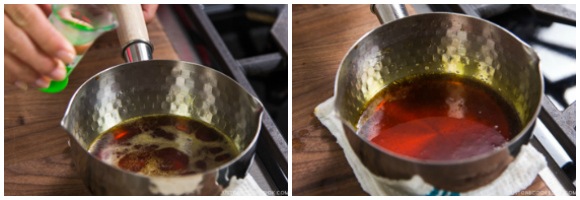
  3. Immediately remove from heat to a cold damp towel and add 2 Tbsp boiling water. It will create a huge splash so please be careful. You can shield with a lid or wear oven mitts to protect your hands. Stir the saucepan to mix together. This will slightly thin out the caramel sauce and ensure that it doesn’t become too thick in the ramekins.

    japanese-pudding-2
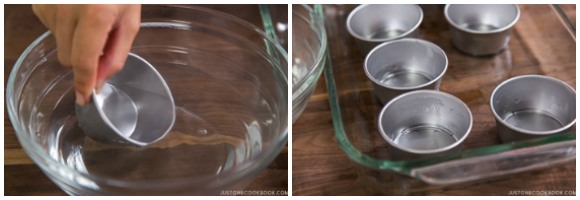
  4. Briefly dip the ramekins in hot water to warm up. This will prevent the caramel from solidifying (just shake off excess water and no need to dry).
    japanese-pudding-3
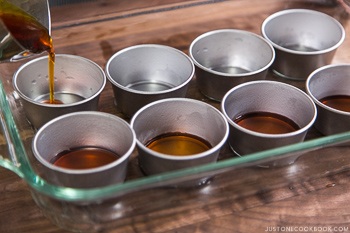
  5. While caramel is still hot, evenly distribute the caramel among the 8 ramekins. Set aside and let the caramel thicken naturally (which is why the caramel will not mix with the custard mixture later).
    japanese-pudding-4

Custard

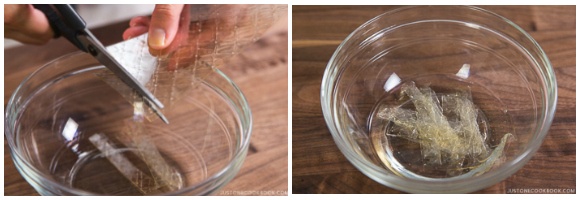
  1. In a small bowl, cut 4 gelatin sheets into thin ½ inch (1.3 cm) strips. Add ¼ cup (60 ml) cold water and set aside for 5-6 minutes until the gelatin “blooms” (expands).
    japanese-pudding-5
  2. If you’re using powder gelatin, combine 3 tsp (10 g) gelatin powder and ¼ cup (60 ml) water and let stand for 1 minute. Then microwave on high for 30-40 seconds and stir. It’s ready to use.

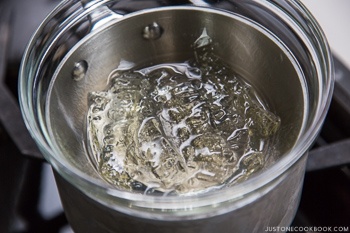
  3. Once gelatin sheets are bloomed, bring 1 inch (2.5 cm) of water to simmer and place the bowl of gelatin mixture over the saucepan (double boiler). Make sure to use a heat resistant bowl which is larger than the opening of the saucepan. Steam will immediately warm up the glass bowl and start dissolving the gelatin. Turn off the heat and set aside. If somehow you end up taking a longer time to do the following process and the gelatin has set into a solid, you will need to melt it back into a liquid with double boiler again.
    japanese-pudding-6
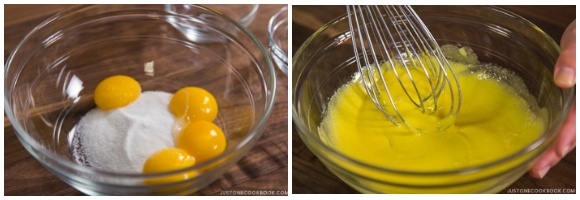
  4. In a large mixing bowl, whisk together the egg yolks and sugar until pale and creamy.
    japanese-pudding-
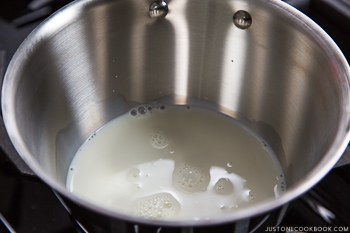
  5. In a medium saucepan, heat 200 ml (roughly 1 cup) milk (keep the rest for later) over medium heat until the milk is warm to the touch.
    japanese-pudding-7
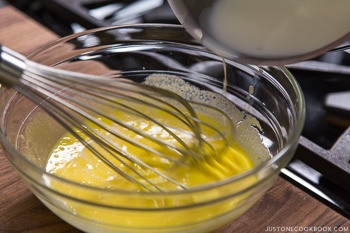
  6. Slowly add the warm milk, whisking constantly (tempering the egg mixture).
    japanese-pudding-9
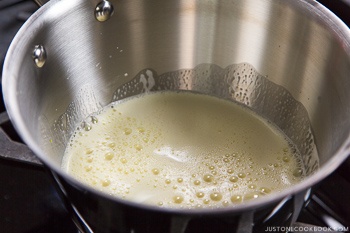
  7. Pour the mixture back into the saucepan. Cook over medium low heat, stirring constantly (keep an eye on the pot ALL THE TIME; otherwise the mixture will burn on the bottom), until the mixture coats a spoon with a thin film or small bubbles start to form at edges of pan, or reaches 160F (71C).
    japanese-pudding-10
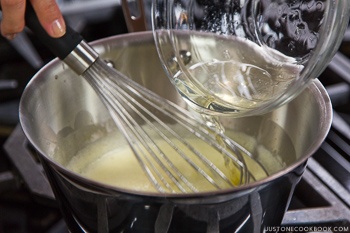
  8. Add in the gelatin mixture and mix well. Remove from the heat.
    japanese-pudding-11
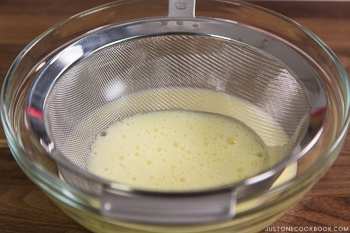
  9. Strain the mixture through a fine sieve into a clean bowl.
    japanese-pudding-12
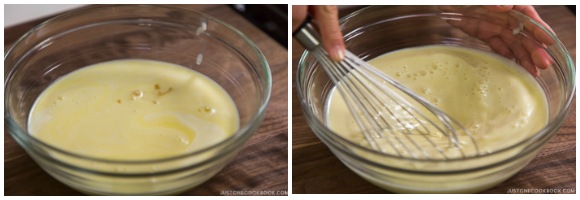
  10. Add the rest of the milk (200 ml), heavy whipping cream, and vanilla and whisk all together. We’re adding them at the end to help the mixture cool down.
    japanese-pudding-13
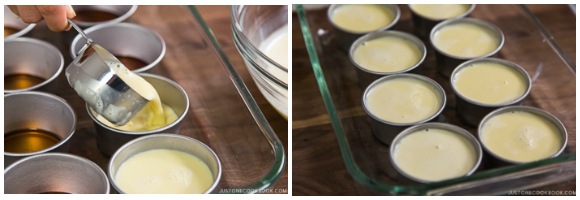
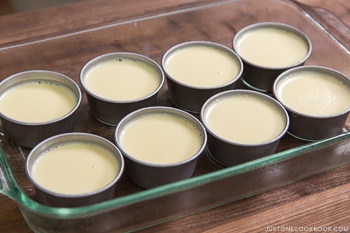
  11. Divide the custard into the 8 ramekins. Cover with plastic wrap and chill in the fridge overnight or up to 3 days. The caramel on the bottom will become thinner after the moisture from the custard transfers to the caramel.
    japanese-pudding-14
  12. To serve, run a small sharp knife or toothpick around the edge of each ramekin to loosen the custard. Quickly invert each custard onto a plate. If it doesn’t release right away, gently shake the ramekin a few times to help it out.
    japanese-pudding-15


Coconut Jelly – Easiest Coconut Milk Dessert Recipe

Ingredients

  • 20 grams of gelatin powder
  • Or 2 and 1/4 tsp of agar-agar powder
  • 400 ml coconut cream
  • 200 ml milk
  • 100 ml whipping cream
  • 60 grams of sugar
  • 30 grams of finely shredded coconut

Instruction

  1. First, we need to soak the gelatin powder into 1/3 cup of cold water for about 5 minutes. Do not throw it into the hot water or else it will clump up and will be really hard to get it dissolved.
  2.  While waiting, let’s get the liquid ready. Pour in 200 ml of milk, 400 ml of coconut cream, 100 ml of whipping cream into the pot.
  3.  Add some sugar and a pinch of salt.
  4.  Also, add in the gelatin. Turn the heat to medium, stir it until dissolved.
  5.  When it comes to a boil, turn off the heat immediately. Transfer it into a container.
  6.  Let it go through a fine sieve just in case there is still some gelatin that is not fully combined.
  7.  If there is extra, you can make some jelly cups with different fruits=)
  8.  let them cool down a little bit then Cover it. Let it sit in the refrigerator overnight.
  9.  Next day, Use a sharp knife, separate the edge. Flip it over with the cutting board. Cut it into the shape you like. Coat it with finely shredded coconut
  10.  You can enjoy this delicious coconut dessert.