
1. For your dough: get the water to the right temperature to bloom the yeast.
 The water should be between 105°F and 110°F. It should be warm enough to dissolve and activate the yeast, but not too hot, or it might kill it. It’s a tricky balance and the best way to make sure you have the right temperature is to use a food thermometer. If you don’t own one, however, you can just feel the water — it shouldn’t feel hot or cold to the touch, but should be at body temperature.
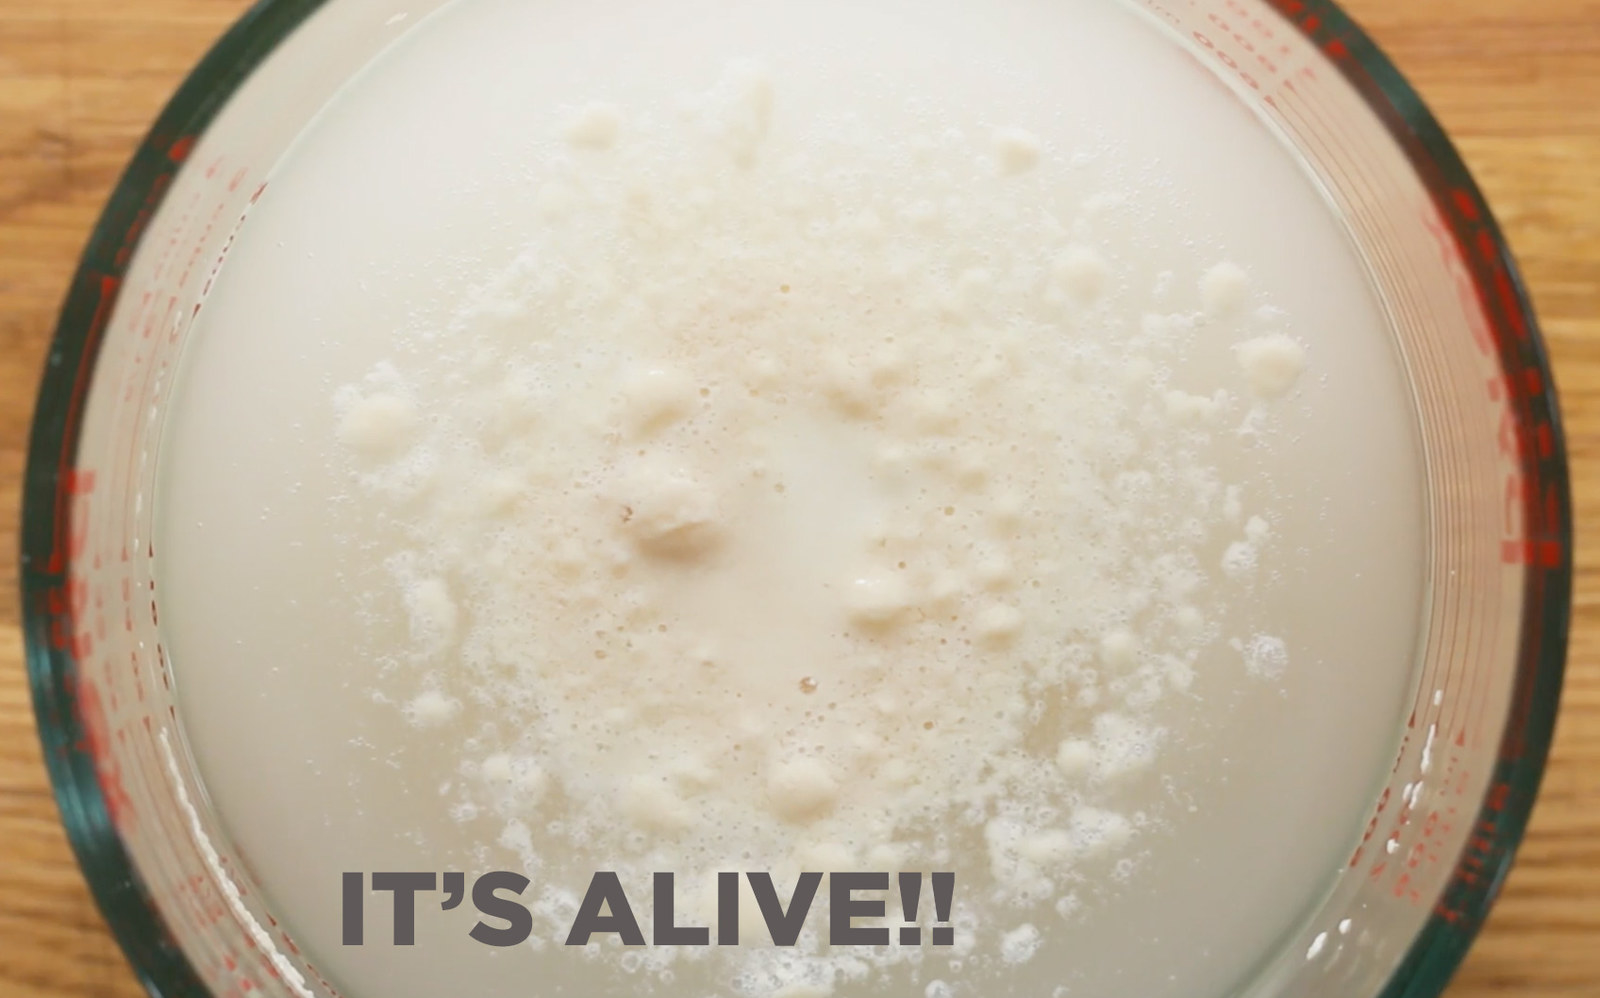
A few minutes after you dissolve it in the water, it should start bubbling and foaming. If you don’t see any reaction, it could mean your yeast was too old, or that the water wasn’t the right temperature. Start again with some fresh yeast until you get a reaction.
3. When it comes to kneading the dough, don’t be lazy — and really take the time to do it.

A good tip to make sure you spend enough time on this is to set a 10-minute timer on your phone and knead the dough until the alarm goes off.
4. This is the kneading motion you should go for:
You need to roll the dough on top of itself, push forward, and repeat.
This way it won’t stick to the bowl or the cling film when it rises.
7. If you can, let the dough rise overnight.
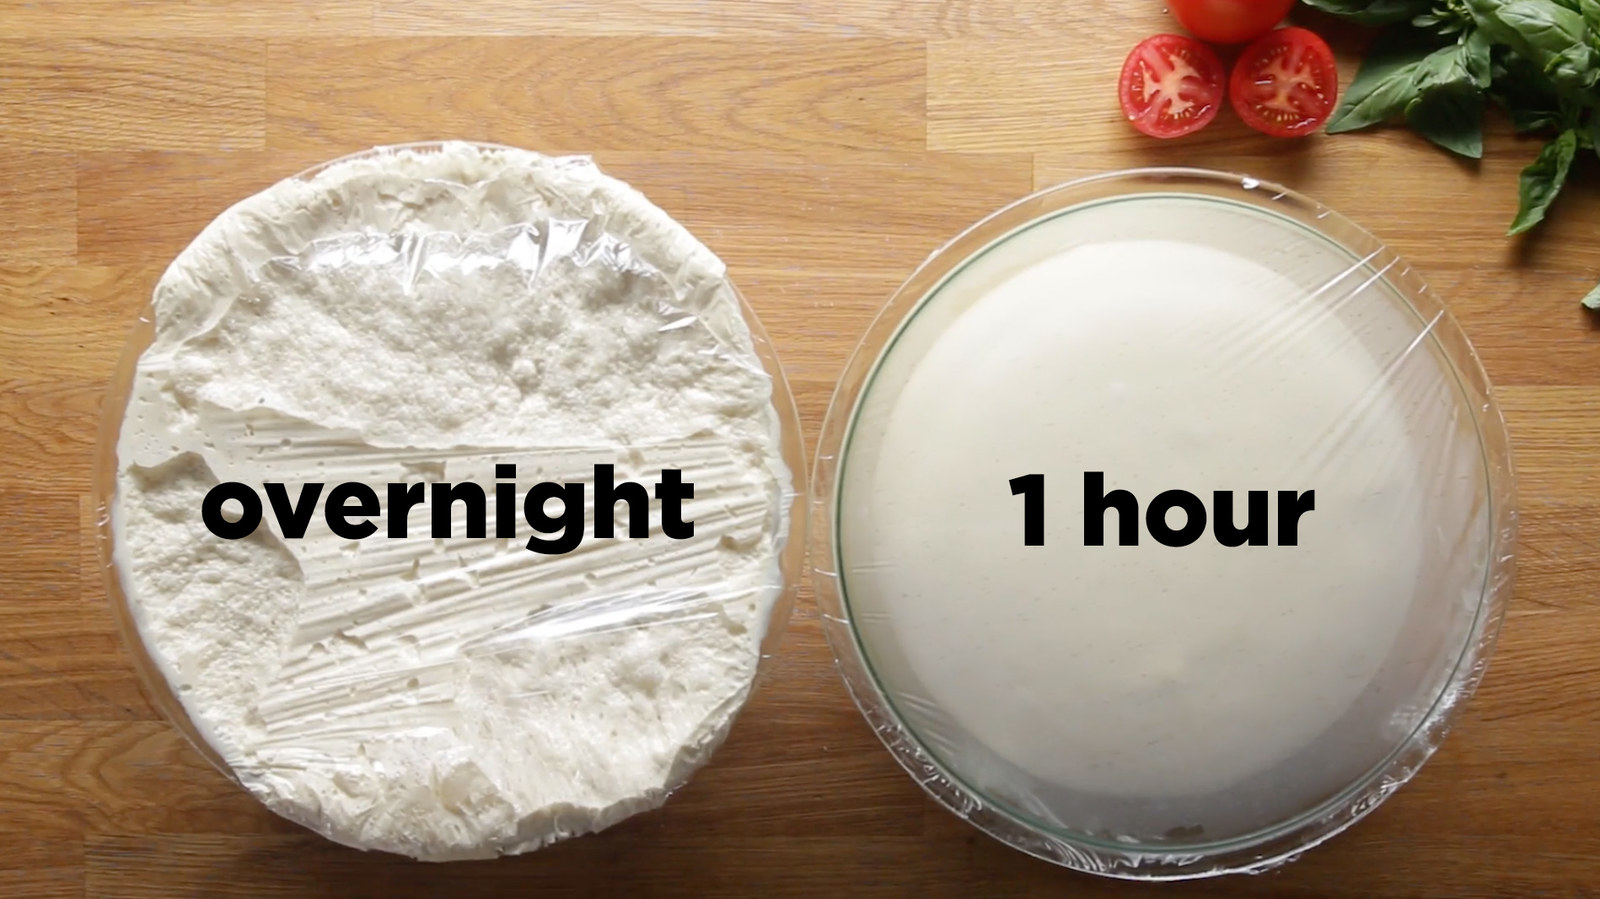
If you don’t have time for that, a one-hour rise will do. But if you can wait, you’ll get a better, more flavorful result with an overnight rise.
8. After the dough has risen, knead for another minute or two to even out the dough and release some of the air bubbles.
You need to deflate the dough and even out the air pockets that formed during the first rise.
Our dough recipe makes four medium pizzas. If you don’t feel like making that many pizza all at once, you can cover and freeze the leftover dough. (Just defrost it overnight in the fridge when you want to use it next.)
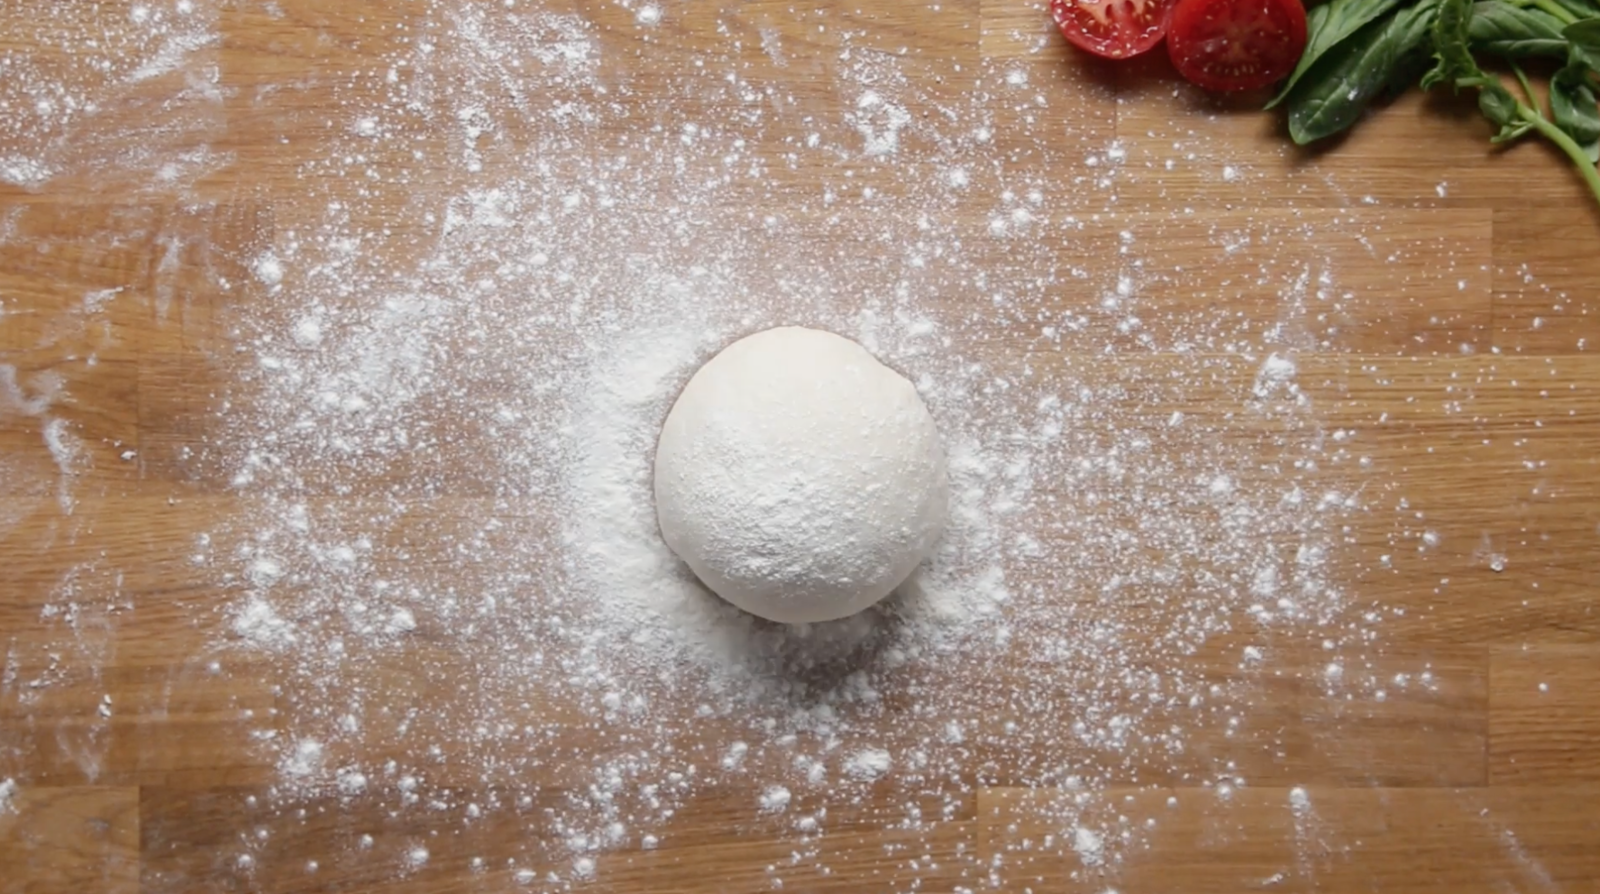
9. Once you’ve shaped each ball of dough, cover them with a bit of flour and a towel and let them rise for another hour.
10. Before working on your toppings and putting the pizza together, get your oven as hot as it can be.
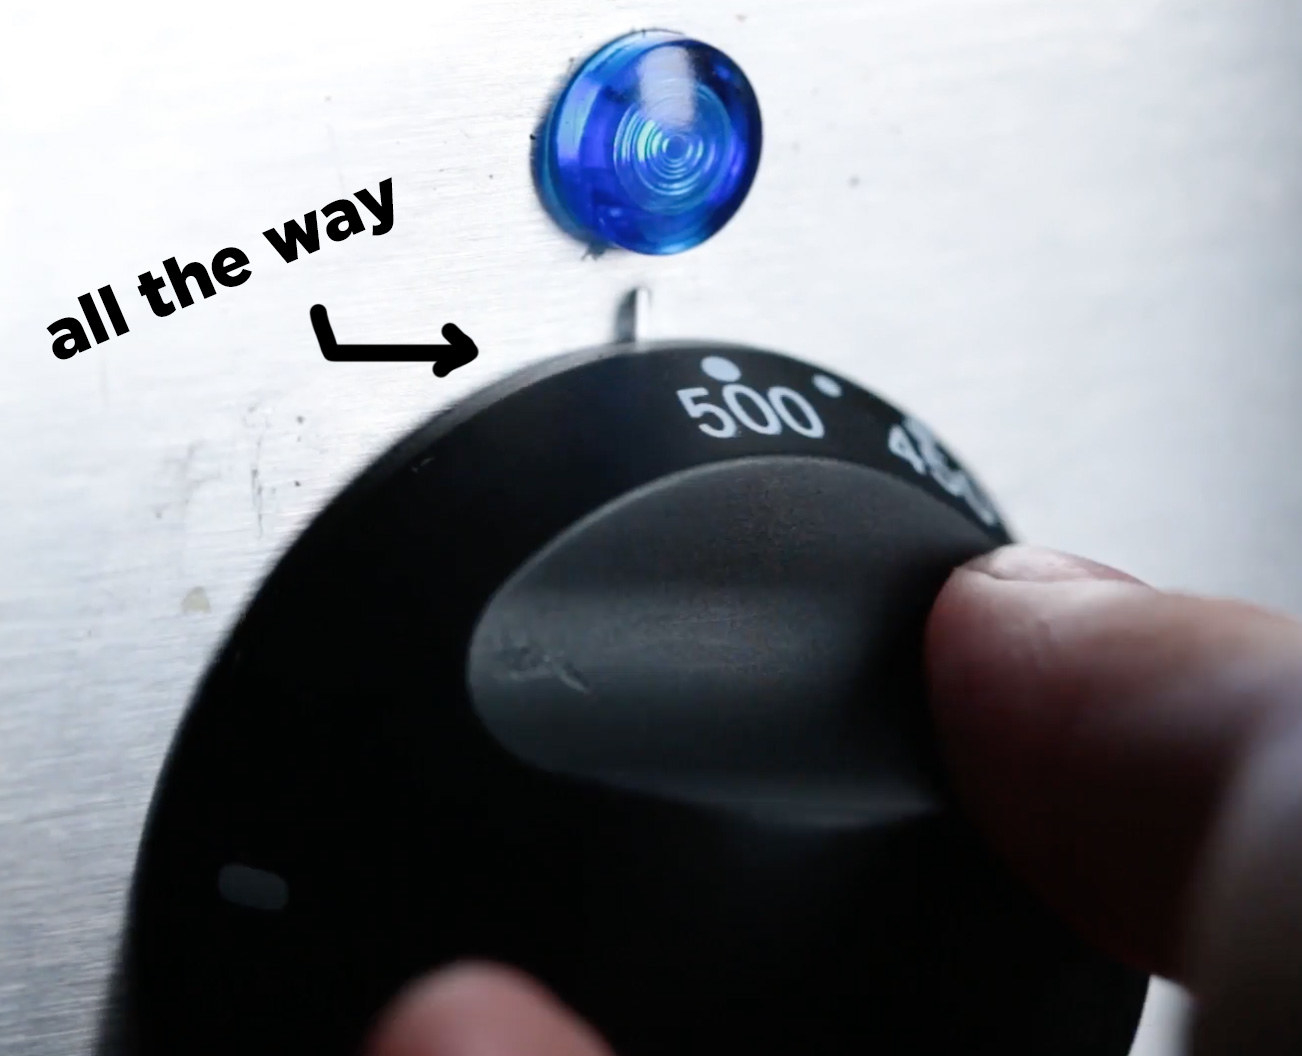
Turn that temperature knob all the way!
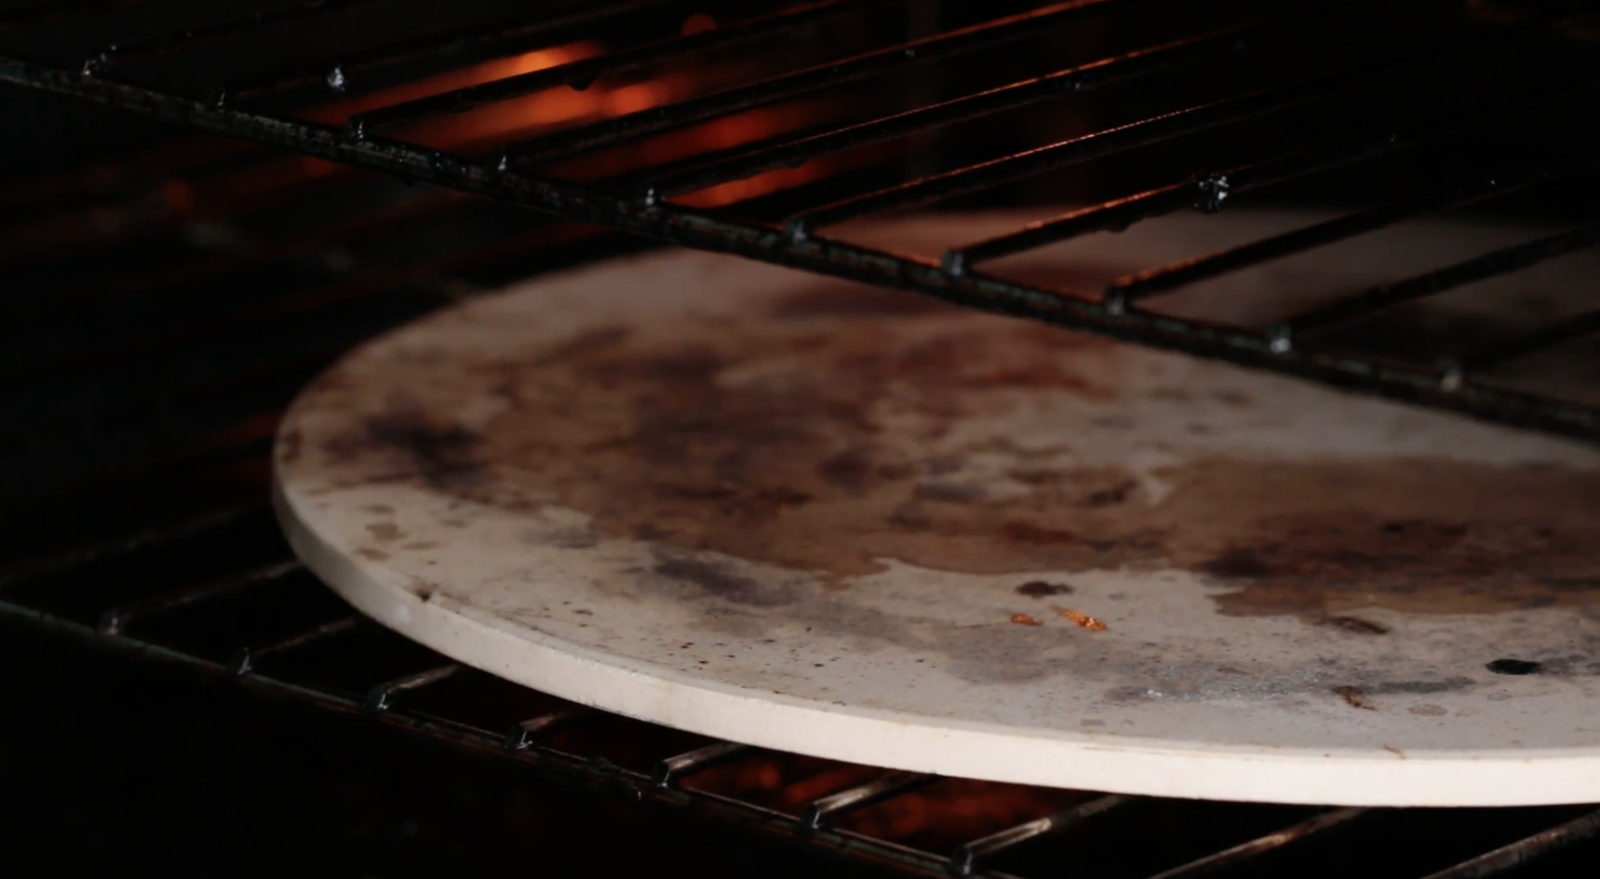
11. And preheat a pan or pizza stone in the oven to create great bottom heat.
Your oven is never going to get as hot as a wood fire oven, but one thing you can do to get it as hot as possible is pre-heat the pan you’ll bake the pizza on. You can use a baking tray flipped upside down, a cast iron (great for holding heat), or you can invest in a pizza stone if you know you’re going to be making pizza often in the future. Place either of those in the oven before you start shaping and topping the pizza to heat them up.
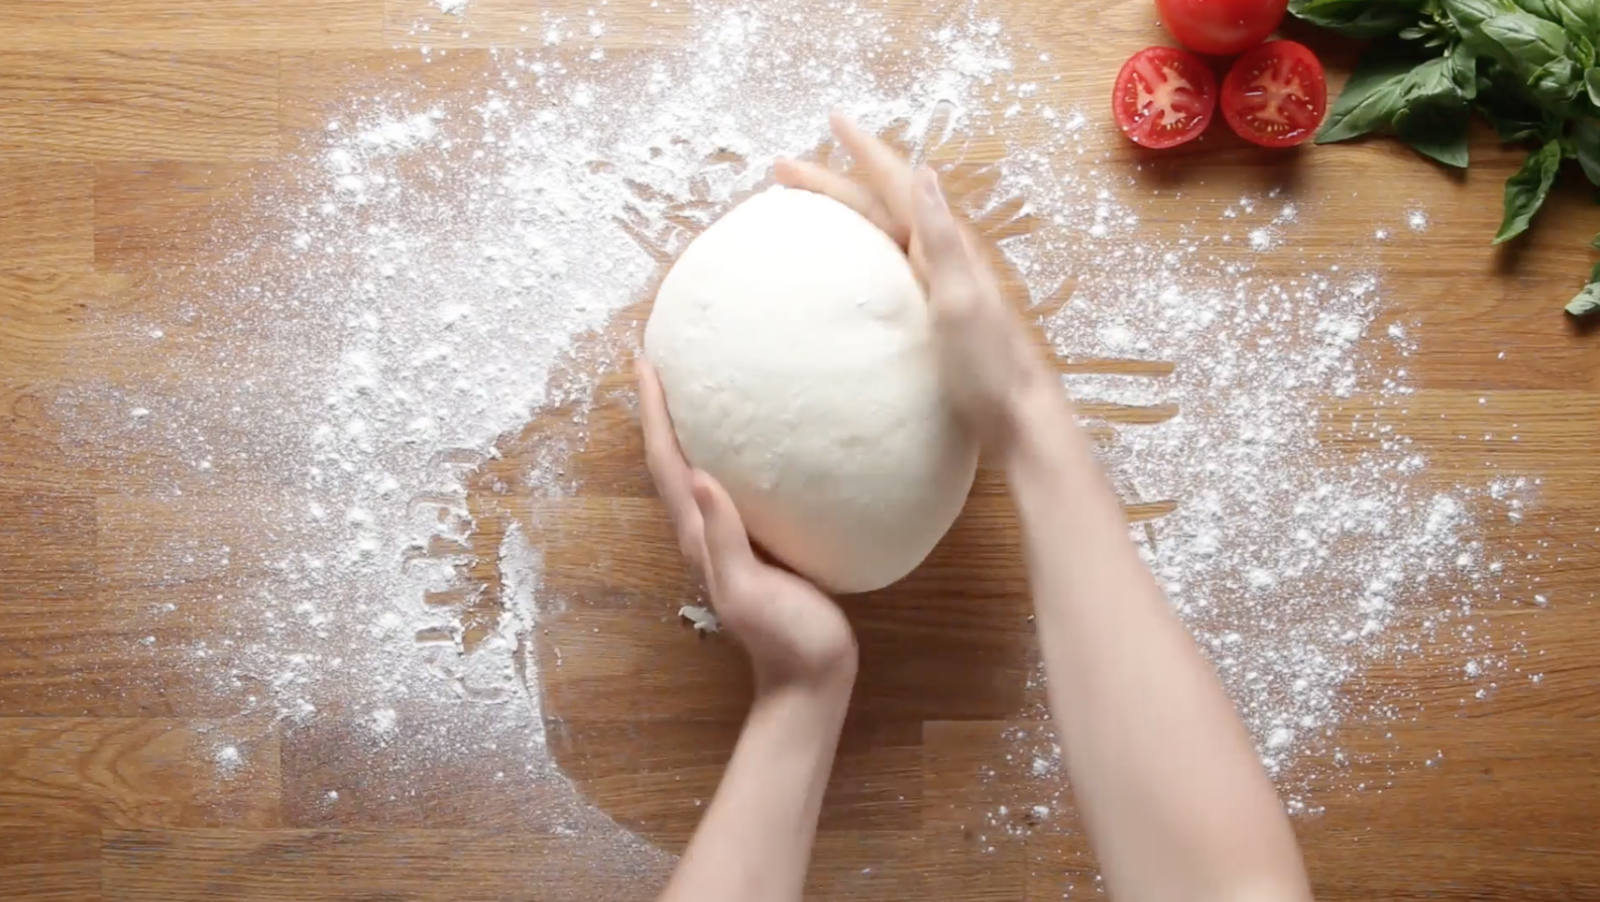
12. There are several techniques you can use to stretch the dough, but if you want to play it safe, just use your hands to gently stretch it:
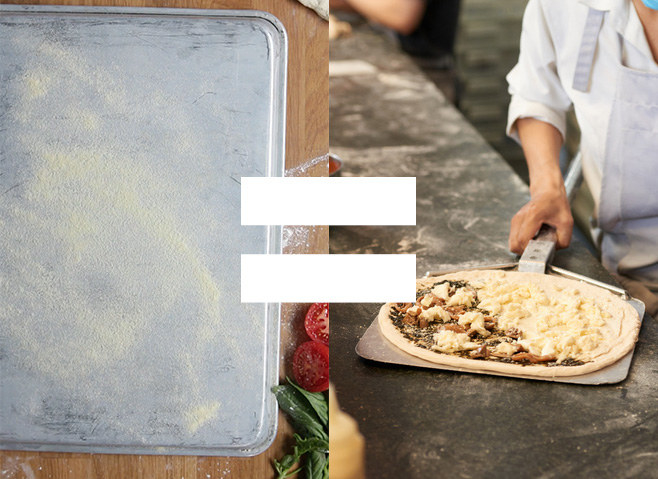
The baking sheet is going to act as a peel, AKA that paddle they use in pizzeria to pop their pizza into the oven. If you don’t have any semolina, you can use flour. You just want to make sure the pizza doesn’t stick to the baking sheet when you transfer it to the preheated pizza stone in the oven.
If you’re too slow, the pizza may get sticky and it’ll be much harder to get it off the baking sheet and into the oven.
15. Time to pop it into the oven! It should take about 12 to 15 minutes.

Trust the visual cues: The crust should be golden brown and the cheese (if using any) should be bubbling and brown.
INGREDIENTS
- 2½ cups (600 milliliters) warm water
- 1 teaspoon sugar
- 2 teaspoons active dried yeast
- 7 cups all-purpose flour, plus more for dusting
- 6 tablespoons extra virgin olive oil, plus more for greasing
- 1½ tablespoons kosher salt
- ¼ cup semolina flour
Optional Toppings:
Tomato Sauce
- 1 28-ounces can whole tomatoes
- 1 tablespoon kosher salt
Margherita
- Tomato sauce
- Mozzarella cheese
- Basil
PREPARATION
- “Bloom” the yeast by sprinkling the sugar and yeast in the warm water. Let sit for 10 minutes, until bubbles form on the surface.
- In a large bowl, combine the flour and salt. Make a well in the middle and add the olive oil and bloomed yeast mixture. Using a spoon, mix until a shaggy dough begins to form.
- Once the flour is mostly hydrated, turn the dough out onto a clean work surface and knead for 10-15 minutes. The dough should be soft, smooth, and bouncy. Form the dough into a taut round.
- Grease a clean, large bowl with olive oil and place the dough inside, turning to coat with the oil. Cover with plastic wrap. Let rise for at least an hour, or up to 24 hours.
- Punch down the dough and turn it out onto a lightly floured work surface. Knead for another minute or so, then cut into 4 equal portions and shape into balls.
- Cover the dough with a kitchen towel and let rest for another 30 minutes to an hour while you prepare the sauce and any other ingredients.
- Preheat the oven as high as your oven will allow, between 450-500˚F (230-260˚C). Place a pizza stone or heavy baking sheet (turn upside down so the surface is flat) to the oven.
- Meanwhile, make the tomato sauce: Add the salt to the can of tomatoes and puree with an immersion blender, or transfer to a blender or food processor and puree until smooth.
- Once the dough has rested, take one portion and start by poking the dough with your fingertips. Then, stretch and press the dough into a thin crust. Make it thinner than you think it should be, as it will slightly shrink and puff up during baking!
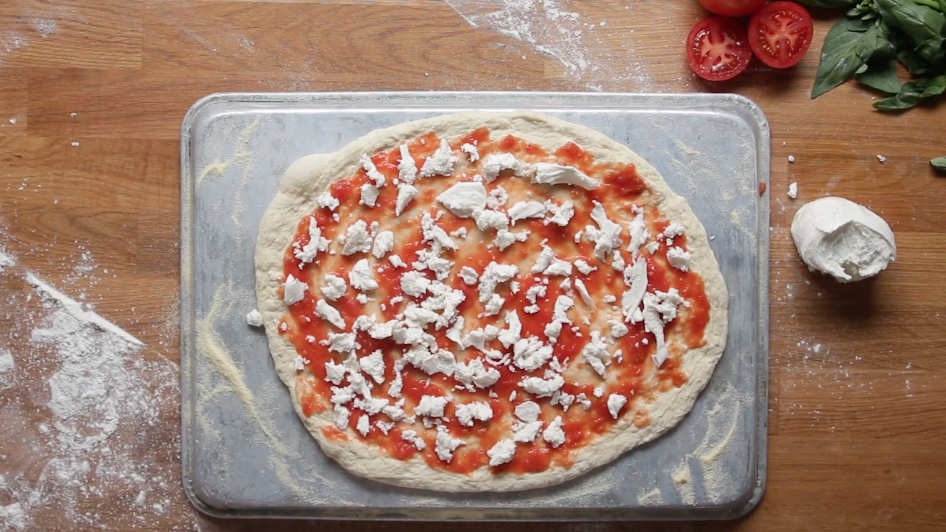
- Sprinkle semolina onto an inverted baking sheet and place your stretched crust onto it. Add the sauce and ingredients of your preference.
- Bake for 15 minutes or until the crust and cheese looks golden brown.
- Add any garnish of your preference and enjoy!