Day 1: Make the Starter. Combine 60 g (1⁄2 cup) of whole wheat flour and 60 g (1⁄4 cup) of water in a large jar. Mix with a fork until smooth; the consistency will be thick and pasty. If measuring by volume, add more water to thin out the texture. Cover loosely with plastic wrap, a small cloth, or the lid of the jar and let it rest in a warm spot, about 75-80 degrees F for 24 hours.
Day 2: Got Bubbles? Today, you’re going to check if any small bubbles have appeared on the surface. Bubbles indicate fermentation, which is what you want! It’s okay if you don’t see anything; the bubbles might have appeared and dissolved overnight while you were sleeping. You do not have to do anything else right now. It does not need any flour or water. Just rest the starter in your warm spot for another 24 hours. During the creation process, and even after your starter has been established, a dark liquid might appear on the starter (the image above shows the liquid in the middle of the starter- it’s usually found on the surface). This liquid is called “hooch” and is an indication that your starter needs to be fed. It also has a very stinky smell, similar to rubbing alcohol or gym socks. Any time you see this liquid, it’s best to remove by pouring if off, along with any discoloured starter present.
Day 3: Feed Your Starter. Whether bubbles are visible or not, it’s time to start the feeding process. To begin, remove and discard approximately half of your starter from the jar. Use a spoon. The texture will be very stretchy. Add 60 g (1⁄2 cup) of all-purpose our and 60 g (1/4 cup) of water. Mix with a fork until smooth. The texture should resemble thick-ish pancake batter or plain Stonyfield plain yoghurt (not Greek) at this point, so add more water as needed. Cover loosely, and let rest in your warm spot for another 24 hours.
Days 4,5 and 6: Keep on Feeding. Repeat the feeding process outlined on Day 3. Remove and discard half of the starter, and feed it with 60 g (1⁄2 cup) of all-purpose flour and 60 g (1/4 cup) of water. As the yeast begins to develop, your starter will rise, and bubbles will form on the surface and throughout the culture. When the starter falls, it’s time to feed it again.
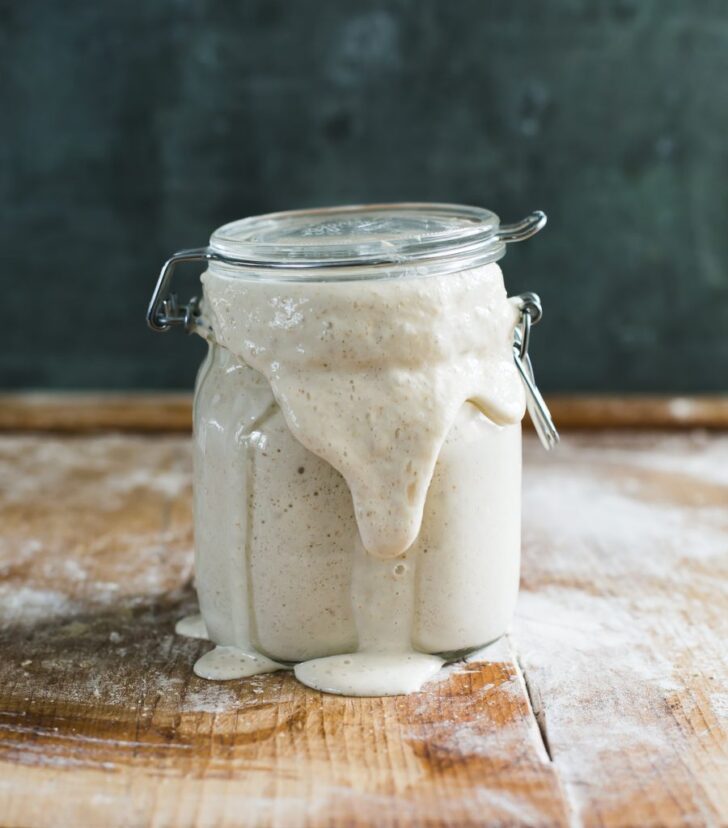
Day 7: A Sourdough Starter Is Born: By now, your sourdough starter should have doubled in size. You should see plenty of bubbles, both large and small. At this point, the texture will now be spongy, fluffy, and similar to roasted marshmallows (think: s’mores). It should also smell pleasant, and not like stinky gym socks. If these conditions are met, your starter is now active. Your starter is ready to use when it passes the float test. After it has doubled in size, drop a teaspoon of starter into a glass of water; if it floats to the top it’s ready.
The very last step is to transfer your sourdough starter to a nice, clean jar. In keeping with tradition, you can also name it, and please do!